Photo EXIF Editor Guide, Episode 5: IPTC and the Camera Fields
Episode 5 of our video guide to Photo EXIF Editor covers IPTC, the fields photo libraries, stock sites and newsrooms read: titles, keywords, creator, copyright and the location fields. Then it decodes the camera fields in the Advanced section, from aperture and exposure time to orientation and the Windows XP fields, in plain words.
On this page
This is the fifth episode of The complete guide to Photo EXIF Editor. The first four episodes were about the fields everyone edits: dates, locations, and the same change on many photos. This one is about two groups of fields that are easy to overlook. IPTC is the set that photo libraries, stock sites and newsrooms read, and it's where keywords and captions belong. And the Advanced section is full of photography terms that are worth understanding once, even if you never edit them.
Watch the episode above, or read on.
What IPTC is for
Most of a photo's metadata is EXIF, written by the camera. IPTC is a second set of fields, designed by the International Press Telecommunications Council for news agencies and photo libraries, and it's still what most professional photo software reads for captions and keywords:
- Who reads it: desktop photo managers (Lightroom, Capture One, digiKam, Apple Photos), stock photo sites, newsroom and digital asset management systems, and many websites that show a caption under a photo.
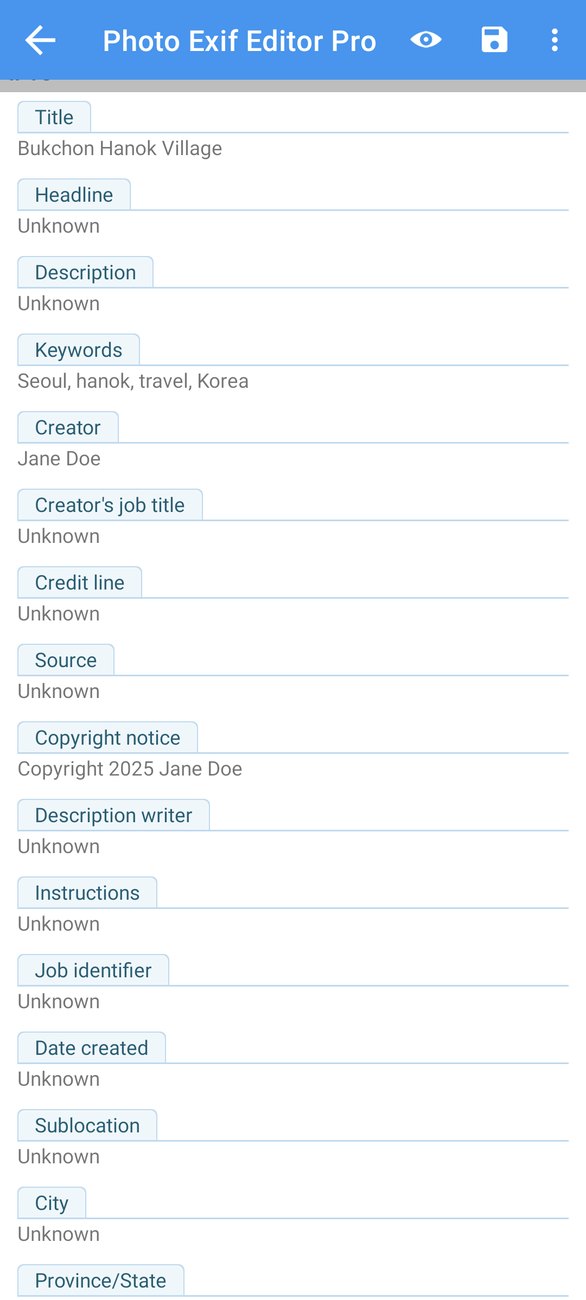
- What goes in it: a title and a headline, a description (the caption), keywords, the creator and their job title, a credit line and a source, the copyright notice, instructions, a job identifier, and the location as words.
- Where it lives: Photo EXIF Editor shows it in its own IPTC section near the bottom of the editor, for JPEG photos.
- Any language: the app writes IPTC in UTF-8, so names and captions in any language, with accents or in other scripts, are stored exactly as you typed them.
If you only ever publish photos on social networks, IPTC may never matter to you. If you sell photos, contribute to a library, send photos to a newspaper, or simply want to find "hanok" among ten thousand photos on your computer, it's the most useful section in the app.
Title, keywords, creator, copyright
Scroll down to the IPTC section and edit the fields like any other: tap, type, OK, and Save when you're done.
- Title and Headline are short names for the photo. Many systems show the headline in lists and the title as a file-level name; using both the same way is fine.
- Description is the caption: a sentence or two about what the photo shows.
- Keywords are what makes photos findable. Type them separated by commas, like
Seoul, hanok, travel, Korea, and the app stores each keyword separately, the way other apps expect. Keep them consistent: Seoul every time, not Seoul here and Seoul, Korea there. - Creator is who took the photo, Creator's job title what they do, Credit line how the photo should be credited when published, and Source where it came from (an agency, an archive).
- Copyright notice is who owns the photo, for example
© 2026 Alex Kim. All rights reserved. - Instructions and Job identifier are for working with clients and editors.
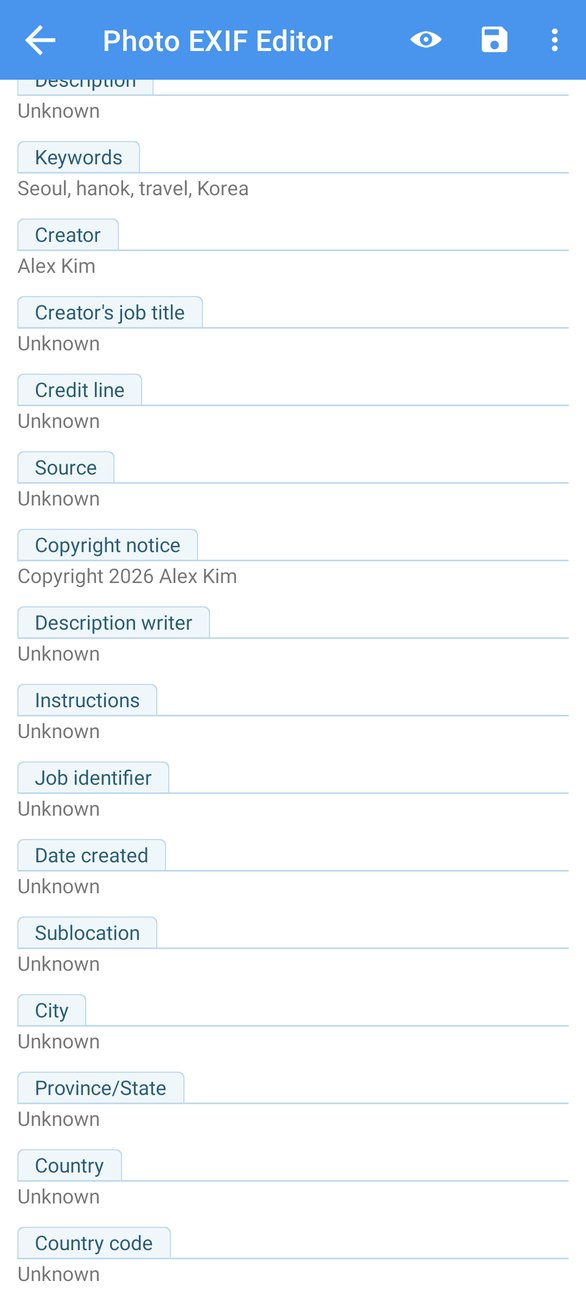
To clear a field, delete its text: an empty value removes it from the photo. Date created is shown for reference but can't be edited here; it follows the captured time, which you edit in the General section (Episode 2).
The location fields
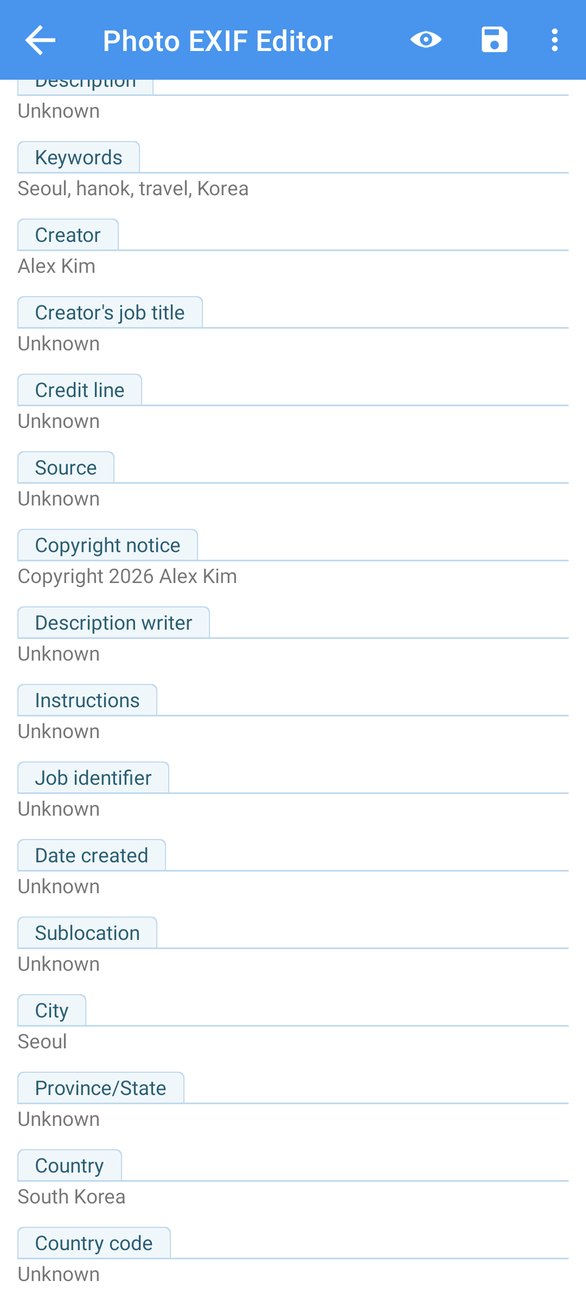
IPTC also describes the location as words, separate from the GPS coordinates: City, Sublocation (a district, a beach, a building), Province/State and Country. Photo libraries use them for search and captions, and they survive even if a workflow strips the GPS coordinates for privacy.
Fill in at least the city and the country for photos you publish. Together with the keywords, that's what lets a library answer "all the photos from Busan" without a map.
IPTC on a batch
Everything above works in the batch editor (Episode 4): select a shoot, tap Edit, fill in the creator, the copyright notice, the shared keywords and the city, and Save writes them into every photo. Fields that should differ per photo, such as the title or the description, are better left for the single-photo editor. A template (Episode 6) with your creator and copyright fields turns this into three taps per folder.
What the camera fields mean
The Advanced section lists what the camera did when it took the picture. You don't need any of it to fix a date or a location, but if you're curious, or you want to fill in the details for a camera or a lens that didn't record them, here they are in plain words:
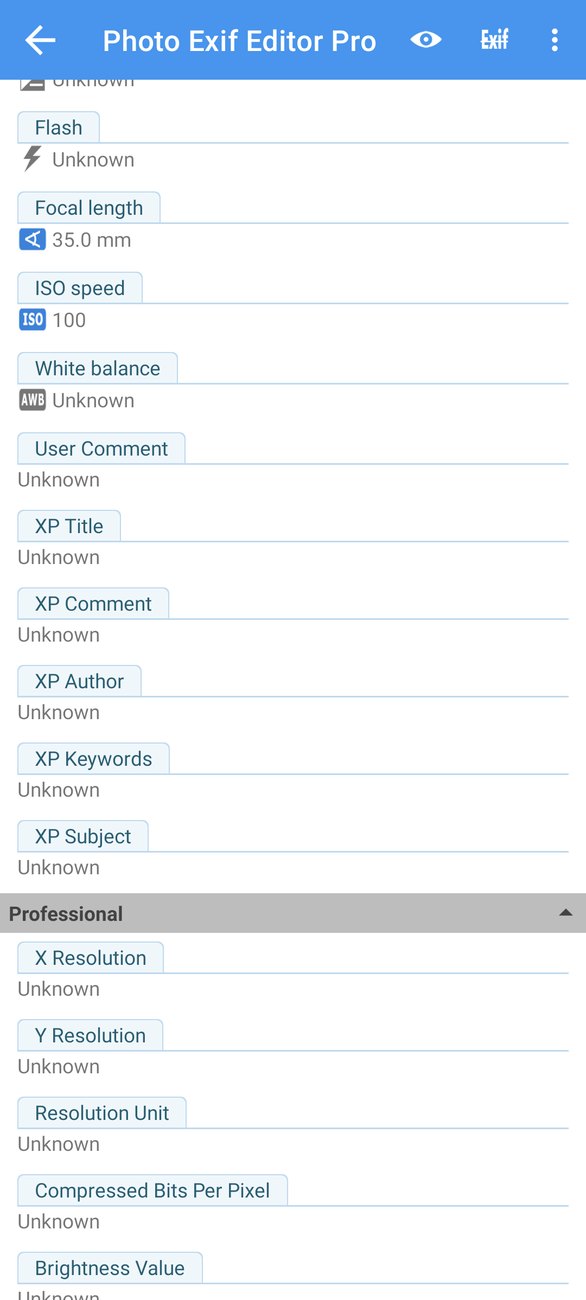
- Aperture (f-stop) is how wide the lens opening was, written as a number like f/1.7 or f/8. A small number means a wide opening: more light, and a blurrier background. A big number means a narrow opening and more of the scene in focus. Portraits like small numbers; landscapes like big ones.
- Exposure time is how long the shutter stayed open, like 1/250 of a second. Short times freeze movement; long times blur it, which is how you get silky waterfalls and light trails at night.
- ISO speed is how sensitive the sensor was set to be. Low numbers like 100 give clean pictures in good light. High numbers like 1600 or 3200 let you shoot in the dark, with more grain.
- Exposure compensation is whether you asked the camera to make the photo brighter (+) or darker (−) than it thought it should be.
- Focal length is how zoomed in the lens was, in millimetres. Around 24 mm is wide, 50 mm is close to what your eye sees, and 200 mm is a strong zoom. Phones often record the real focal length of their tiny lenses, like 7 mm, which is why some apps also show a "35 mm equivalent".
- Flash is whether the flash fired, and in which mode (forced, automatic, red-eye reduction).
- White balance is whether the camera adjusted the colours automatically or you chose a setting like daylight or cloudy.
- Metering mode and exposure program say how the camera measured the light (the whole frame, the centre, a spot), and whether it chose the settings itself (automatic), you chose some of them (aperture or shutter priority) or all of them (manual).
- Orientation is how the photo should be turned when shown. Cameras often save the picture the way the sensor saw it and add an orientation so that apps rotate it for you. If a photo appears sideways in some apps, changing Orientation usually fixes it without touching the picture.
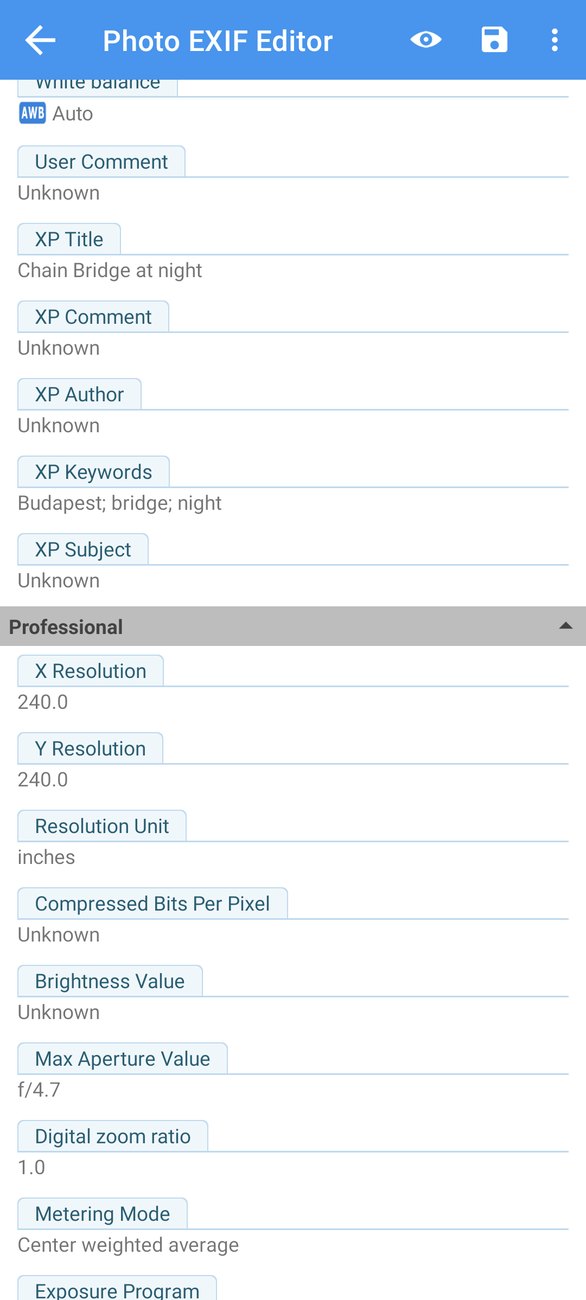
- Resolution is the dots per inch to use when printing. It doesn't change the photo's size in pixels.
The Professional section below holds the more technical fields, such as the resolution unit, brightness, the maximum aperture of the lens and the digital zoom ratio. Most people never need them.
The Windows XP fields
At the end of the Advanced section you'll find XP Title, XP Subject, XP Author, XP Keywords and XP Comment. These are the fields that Windows shows in a file's Properties → Details and uses for search in File Explorer. They were added by Microsoft long ago, before IPTC was common on consumer computers, and Windows still reads them first.
If you organise your photos on a Windows computer, fill them in; it takes a template (Episode 6) to do it in one tap. If you don't, you can safely ignore them. For everything else, IPTC is the standard.
Tips
- Keywords: think like a search. Add the place, the subject, the event and the mood, in the words you'd type to find the photo later:
Busan, Gamcheon, village, colourful, houses, travel. - One creator, one spelling. Libraries treat A. Kim and Alex Kim as two people. Save your creator and copyright fields as a template and apply it everywhere.
- The copyright symbol. Type
©from your keyboard's symbols, or spell it out:Copyright 2026 Alex Kim. Both are fine; be consistent. - Raw data shows the exact tags. If a library doesn't pick up a field, open the ⋮ menu, tap Raw data, and check what's stored.
- PNG photos have EXIF but no IPTC section. Convert, or keep the keywords in XP Keywords for Windows.
What's next
In Episode 6: Templates and Copy EXIF we stop typing the same things twice: save a template with your name, copyright and camera details and apply it in one tap, and copy the EXIF from one photo to many after an editing app stripped it.
The full series:
- Getting started
- Dates and times
- Locations and geotagging
- Batch editing
- IPTC and the camera fields (this episode)
- Templates and Copy EXIF
- The Photo map
- Privacy and the HEIC/AVIF converter
Get the app
- Photo EXIF Editor (free): https://play.google.com/store/apps/details?id=net.xnano.android.photoexifeditor
- Photo EXIF Editor Pro (no ads): https://play.google.com/store/apps/details?id=net.xnano.android.photoexifeditor.pro
The sample photos in this series are CC0 photos from Wikimedia Commons.
Videos
Related posts
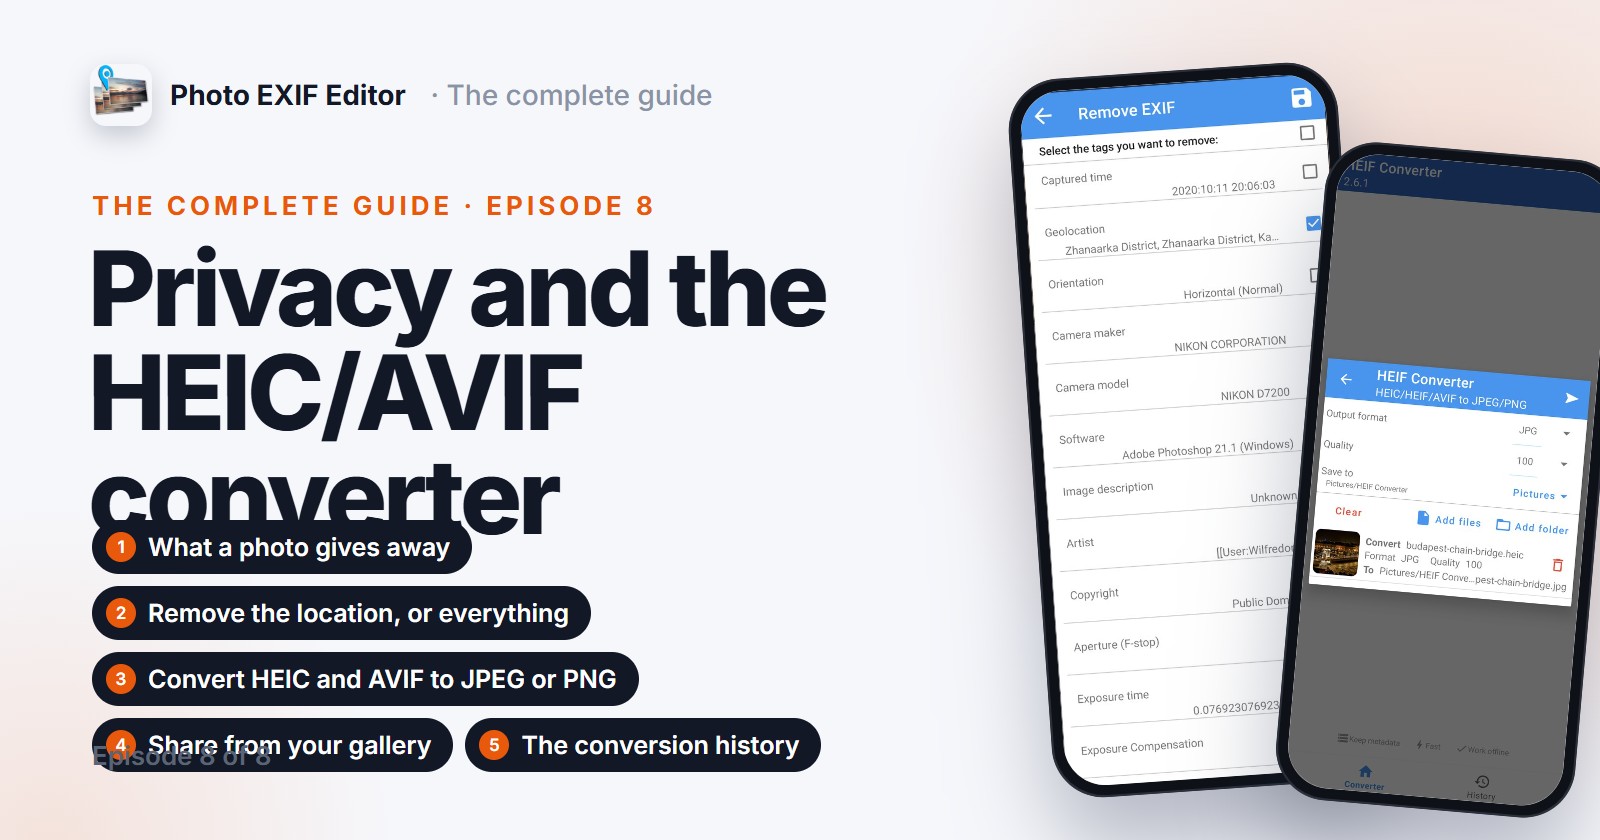
Photo EXIF Editor Guide, Episode 8: Privacy and the HEIC/AVIF Converter
The last episode of our video guide to Photo EXIF Editor: what a photo gives away, removing the location, the camera details or everything before it goes online, and converting HEIC, HEIF and AVIF photos to JPEG or PNG with their metadata kept.
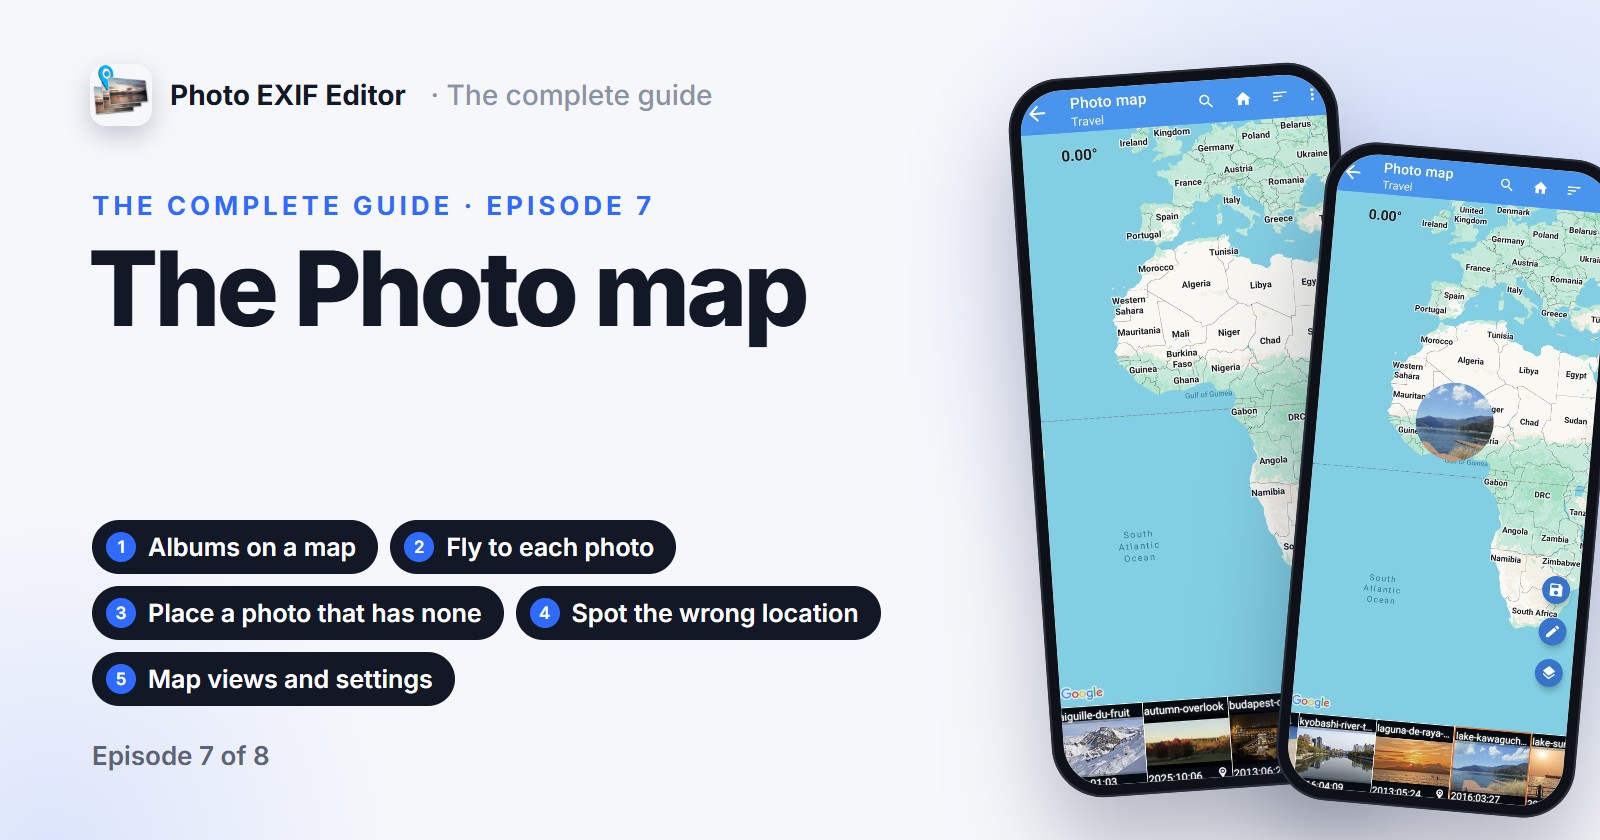
Photo EXIF Editor Guide, Episode 7: The Photo Map
Episode 7 of our video guide to Photo EXIF Editor is about the Photo map: your albums on a map, flying from photo to photo, placing a photo that has no location, spotting the one that landed in the wrong place, and the map views and settings.
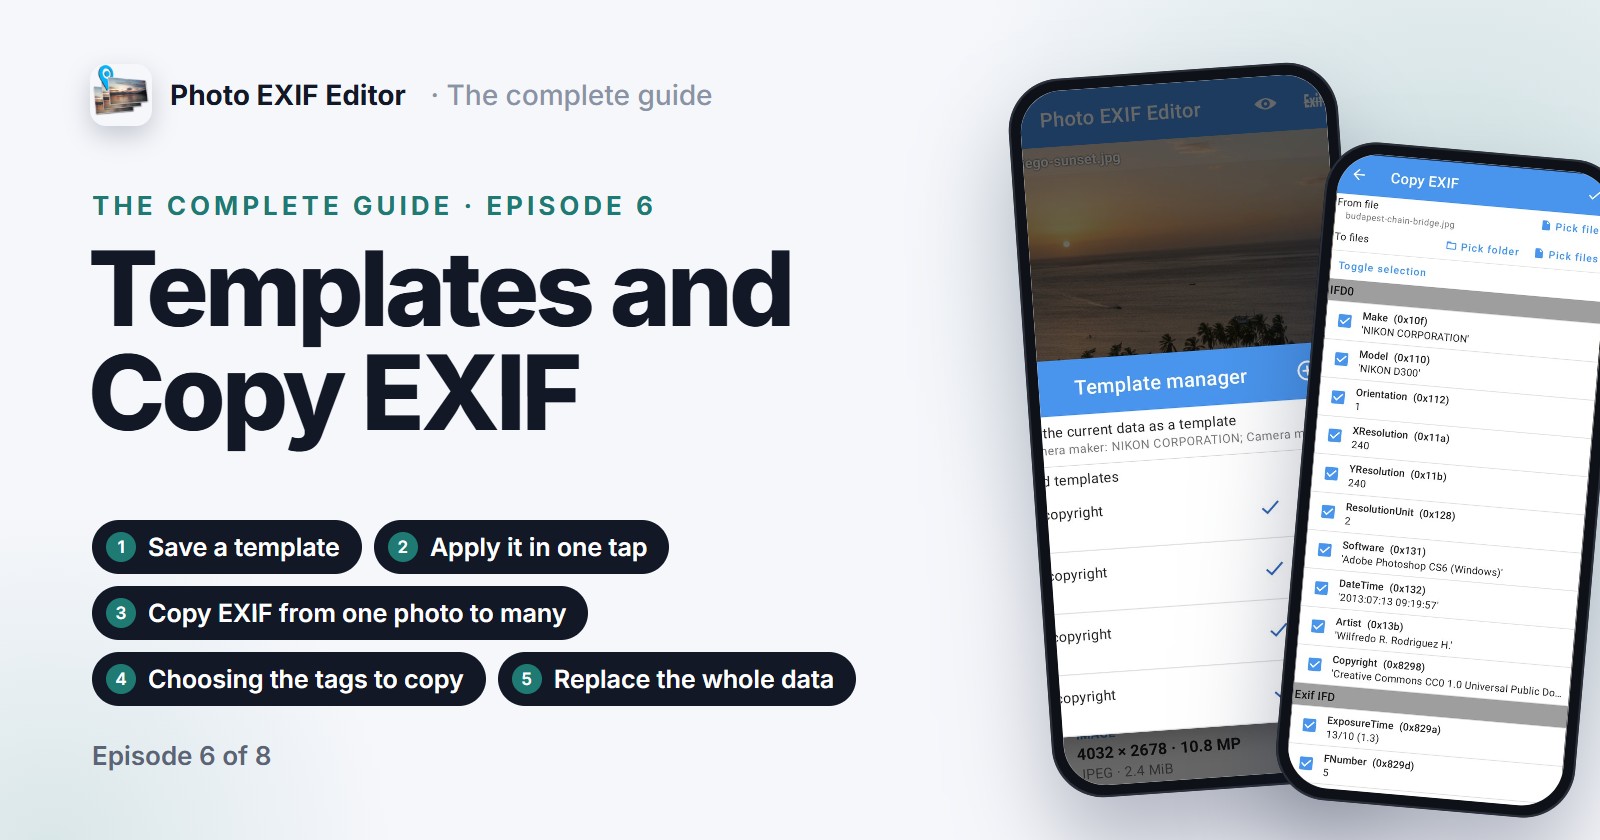
Photo EXIF Editor Guide, Episode 6: Templates and Copy EXIF
Episode 6 of our video guide to Photo EXIF Editor is about not typing the same things twice: save a template with your name, copyright and camera details and apply it in one tap, to one photo or a batch; then use Copy EXIF to take the information from one photo and write it into others.