Photo EXIF Editor Guide, Episode 8: Privacy and the HEIC/AVIF Converter
The last episode of our video guide to Photo EXIF Editor: what a photo gives away, removing the location, the camera details or everything before it goes online, and converting HEIC, HEIF and AVIF photos to JPEG or PNG with their metadata kept.
On this page
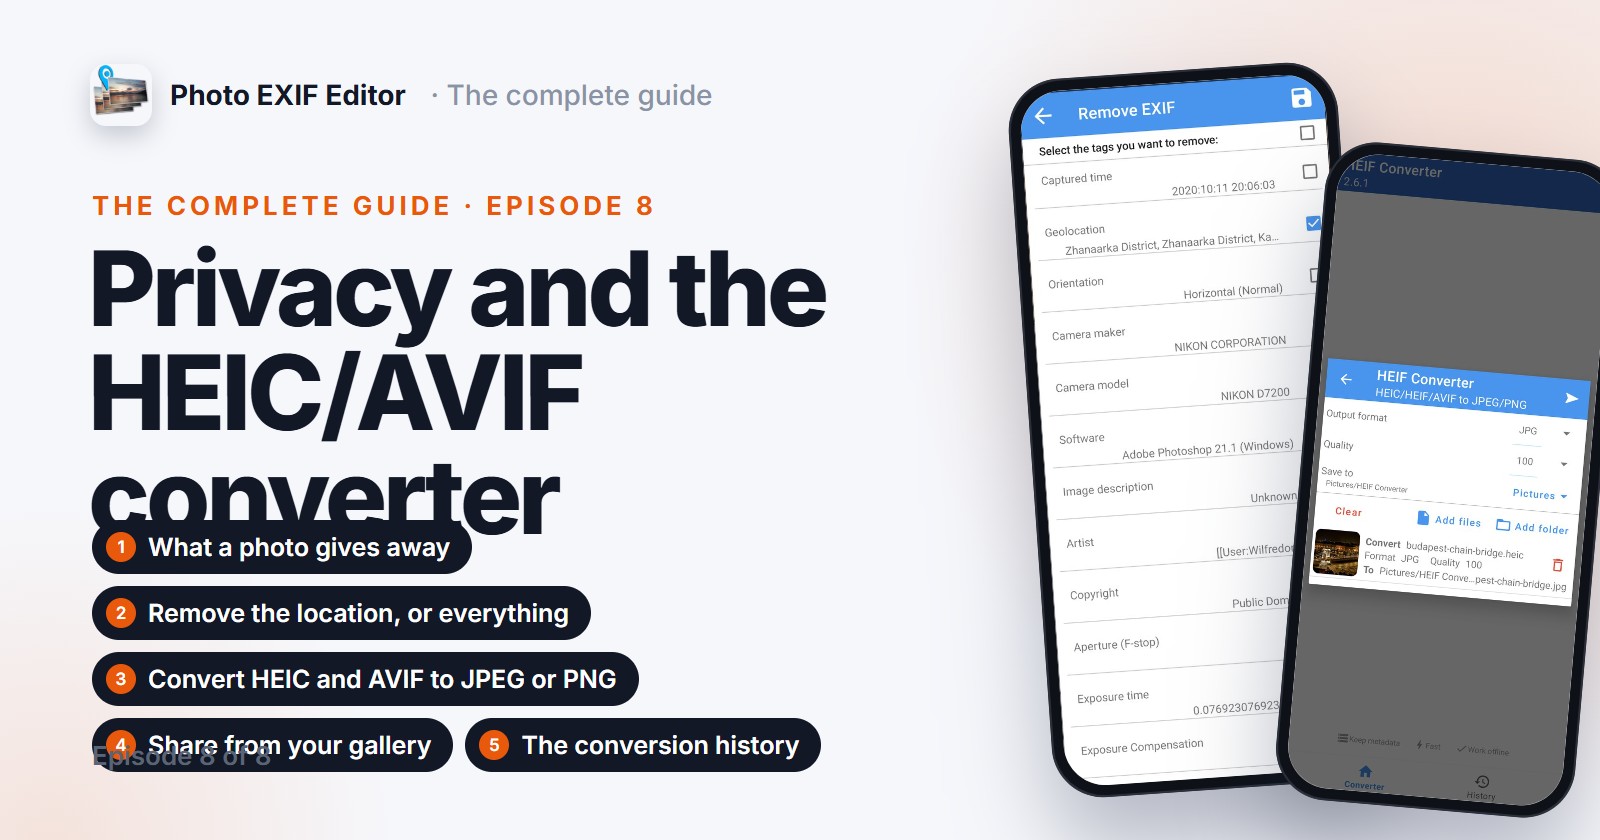
This is the eighth and last episode of The complete guide to Photo EXIF Editor. The series started with what's stored inside a photo; it ends with what you might not want to share, and with the formats that get in the way of sharing at all. Two tools, then: Remove EXIF, for taking information out of a photo before it goes online, and the HEIC/HEIF/AVIF converter, for turning a photo your friends' computers can't open into a JPEG they can.
Watch the episode above, or read on.
What a photo gives away
Everything the editor shows you, anyone you send the photo to can read as well, with any EXIF viewer, including the one built into most computers' file properties:
- Where you were. GPS coordinates, often precise to the house, with the altitude and sometimes the direction you were facing.
- When. The exact second, and the time zone.
- What you shoot with. The camera maker and model, the lens, the software you edited with, and sometimes the camera's serial number.
- Who you are. Your name, if it's in the artist, copyright or IPTC creator fields, or in the software field of some apps.
Some social networks strip metadata when you upload. Many messaging apps, email, cloud links and websites don't. Before a photo of your home goes online, take a moment to remove what you'd rather keep.
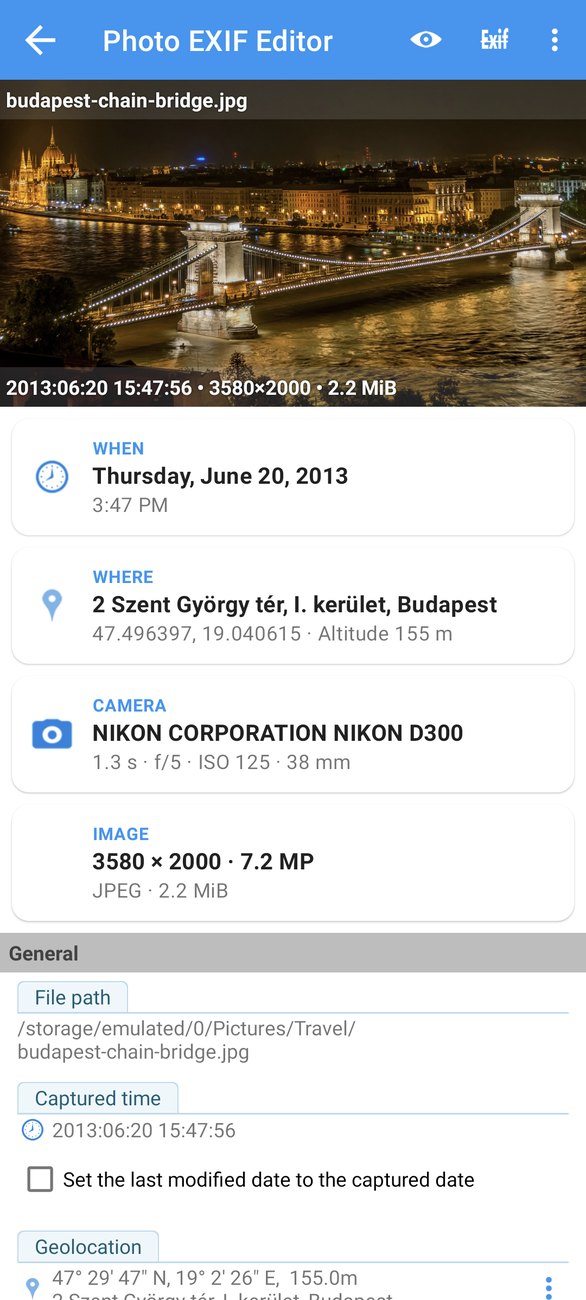
Remove the location
The location is the one most people want gone. Open the photo in the editor and tap Remove EXIF, the crossed-out Exif icon at the top. The window lists the photo's fields, each with a check box.
- Tick Geolocation.
- Tap Save.
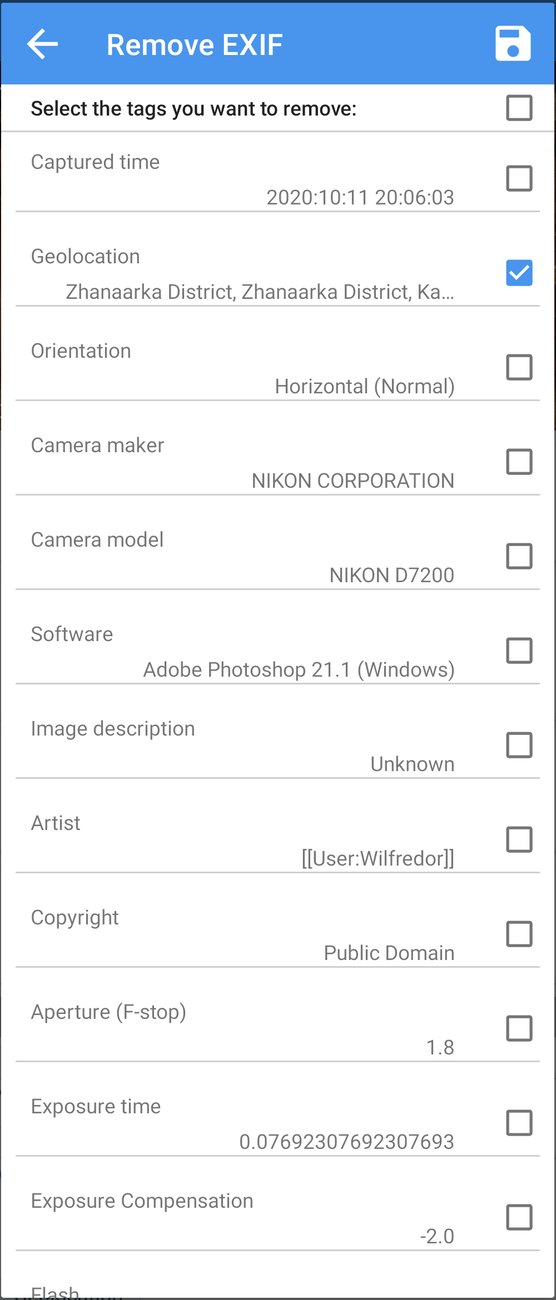
The location is gone, and only the location: the date, the camera settings, the description and everything else stay exactly as they were. The picture itself is never touched.
Remove more, or everything
The same window removes anything else:
- Camera maker, Camera model and Software, if you'd rather not say what you shoot with.
- Artist and Copyright, if your name shouldn't travel with a casual snapshot (keep them on photos you publish as your work).
- The IPTC fields, if you've filled them in for a library and are now sharing casually.
- Everything, with the check box at the top, for a completely clean photo.
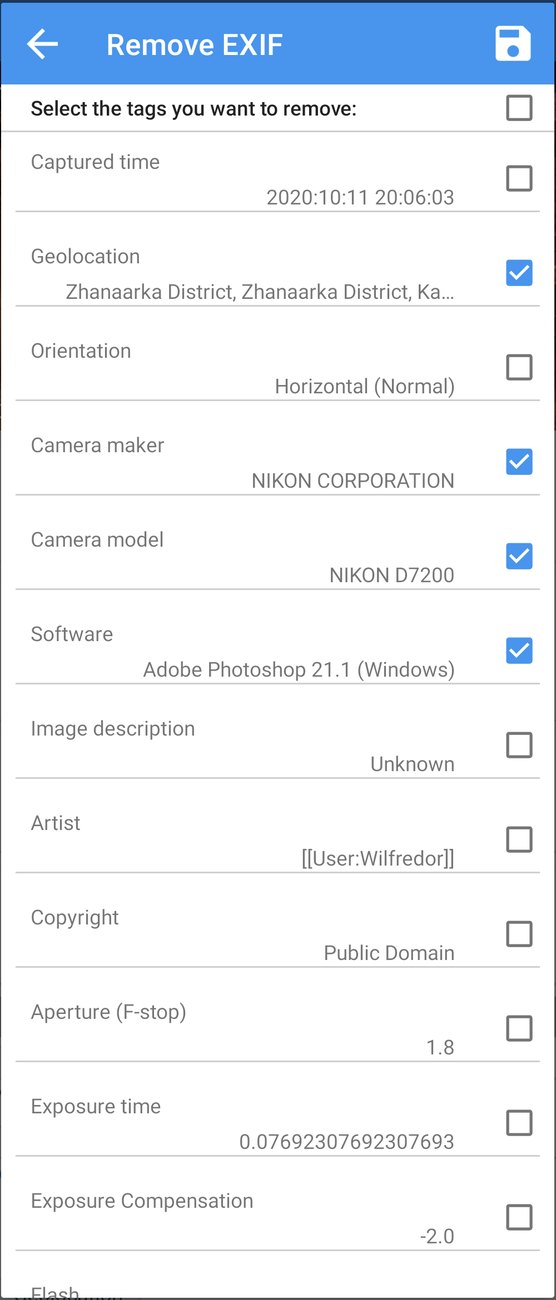
Only the ticked fields are removed. Everything else stays. And it works on a batch: select the photos in the File Browser, tap Edit, then Remove EXIF, tick the fields, and Save cleans the whole set.
Two things to know
- There's no undo. Removing information from a photo deletes it from the file. If you might want it back, keep the original and share a copy: your gallery's share menu or a file manager can make one.
- A clean photo is still a photo. Removing the metadata doesn't change the picture. Faces, street signs and reflections are still there; metadata removal is one part of sharing safely, not all of it.
HEIC, HEIF and AVIF
Many recent phones save photos as HEIC (the file extension of the HEIF format), and AVIF is becoming common for photos downloaded from the web. Both are compact and keep more detail per megabyte than JPEG. But many websites, older computers, and a lot of apps can't open them, and Photo EXIF Editor edits JPEG and PNG photos.
The converter turns HEIC, HEIF and AVIF photos into JPEG or PNG. It keeps the metadata (the date, the location and the camera information), it works offline, and it's fast: nothing leaves your phone.
Convert
There are two ways to get photos into the converter:
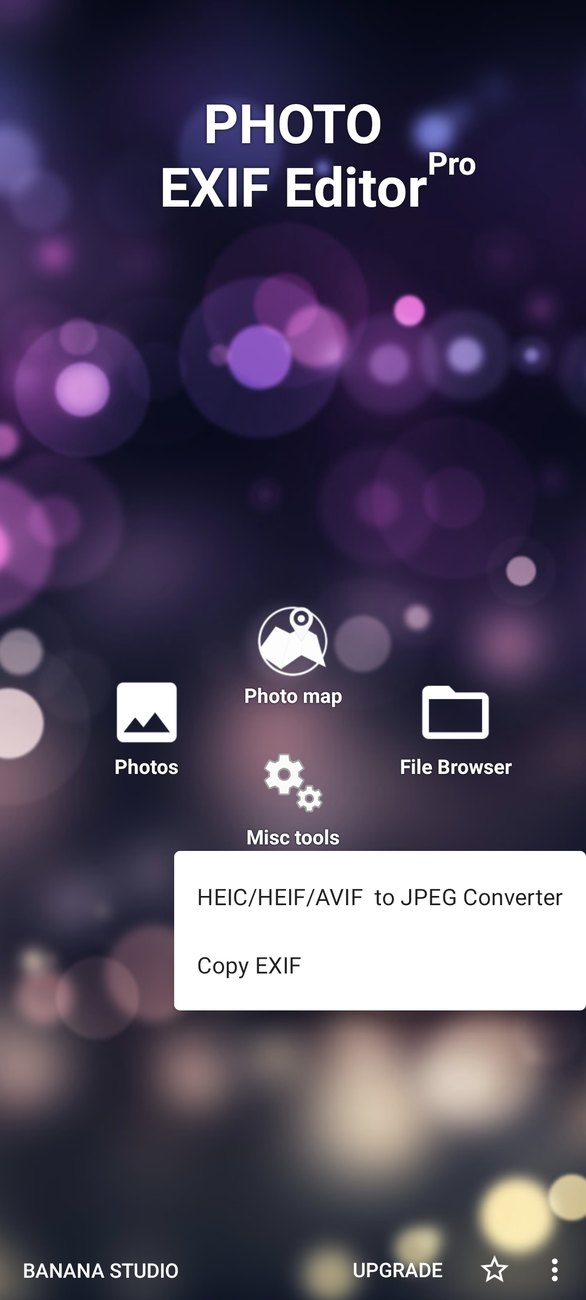
- Open Misc tools on the home screen, tap HEIC/HEIF/AVIF to JPEG, then tap + (or Add files / Add folder) and choose the photos.
- Quicker: in your gallery app, share the HEIC or AVIF photos and choose Convert to JPEG/PNG in the share sheet.
Then set:
- Output format: JPG (smaller, opens everywhere) or PNG (lossless, larger, for graphics and screenshots).
- Quality: for JPG, from 1 to 100. 90 is a good default; 100 is nearly lossless and large.
- Save to: the folder for the converted photos, Pictures/HEIF Converter by default. Tap it to choose another.
Tap Convert. A moment later the converted photos are in your gallery, with their metadata intact, ready to edit in Photo EXIF Editor or to share.
The conversion history
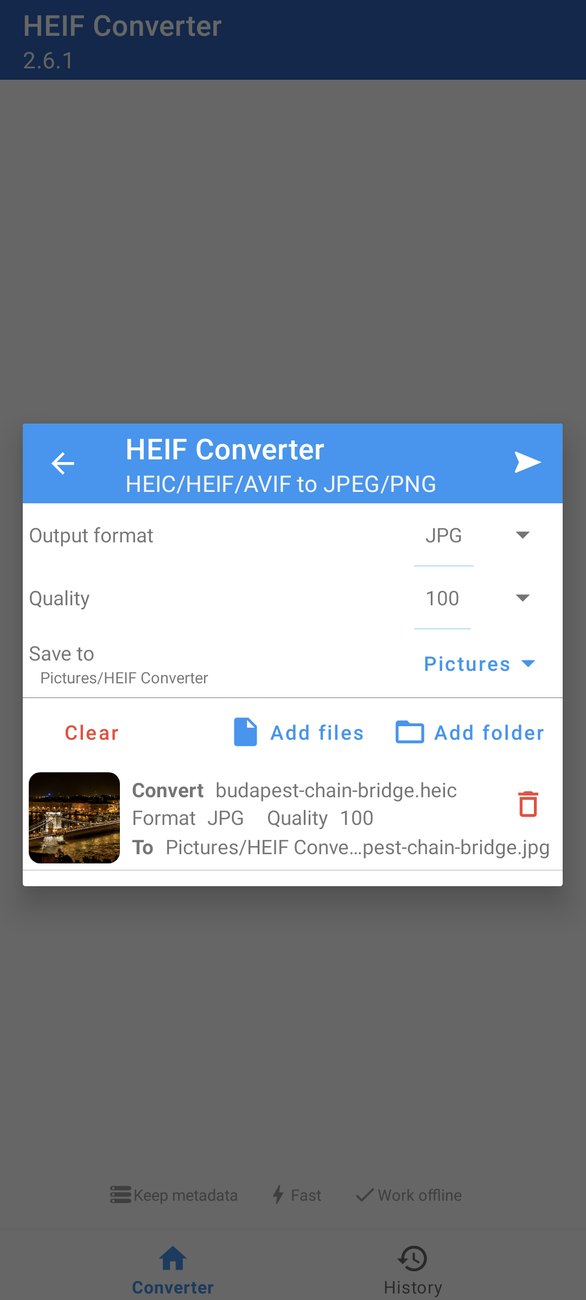
The History tab lists everything you've converted, with the format, the quality and the size of each file. Tap an item to view the converted photo, and share it straight from the viewer. The originals are never changed or deleted; the converter always writes new files.

Recipes
Prepare a photo of your home for the web. Remove EXIF, tick Geolocation (and the camera fields if you like), Save, then share.
Clean a whole set before sharing. Select the photos, Edit, Remove EXIF, tick Geolocation, Save.
Send an iPhone photo to someone who can't open it. Share it to Convert to JPEG/PNG, keep JPG at quality 90, Convert, then share the result from the History tab.
Edit a HEIC photo's date or location. Convert it to JPG first; the converter keeps its metadata, and the JPG opens in the editor.
The series
That's the whole series. If you skipped an episode, they're all in the playlist, and each one has an article like this one:
- Getting started: what's inside a photo, the home screen, the File Browser, the editor, your first edit
- Dates and times: set an exact date, shift by an hour or a day, shift a whole trip, the dates inside a photo
- Locations and geotagging: search a place, drop a pin, satellite view, copy a location to many photos
- Batch editing: select a folder, Multiple values, one change for every photo, large batches and permissions
- IPTC and the camera fields: titles, keywords, creator, copyright, and what the camera fields mean
- Templates and Copy EXIF: save what you type often, copy the EXIF from one photo to many
- The Photo map: your albums on a map, place a photo that has none, spot the wrong location
- Privacy and the HEIC/AVIF converter (this episode)
Thank you for watching. If the series helped, a rating on Google Play helps us too, and the Feedback entry on the home screen reaches us directly.
Get the app
- Photo EXIF Editor (free): https://play.google.com/store/apps/details?id=net.xnano.android.photoexifeditor
- Photo EXIF Editor Pro (no ads): https://play.google.com/store/apps/details?id=net.xnano.android.photoexifeditor.pro
The sample photos in this series are CC0 photos from Wikimedia Commons.
Videos
Related posts
Photo EXIF Editor Guide, Episode 7: The Photo Map
Episode 7 of our video guide to Photo EXIF Editor is about the Photo map: your albums on a map, flying from photo to photo, placing a photo that has no location, spotting the one that landed in the wrong place, and the map views and settings.
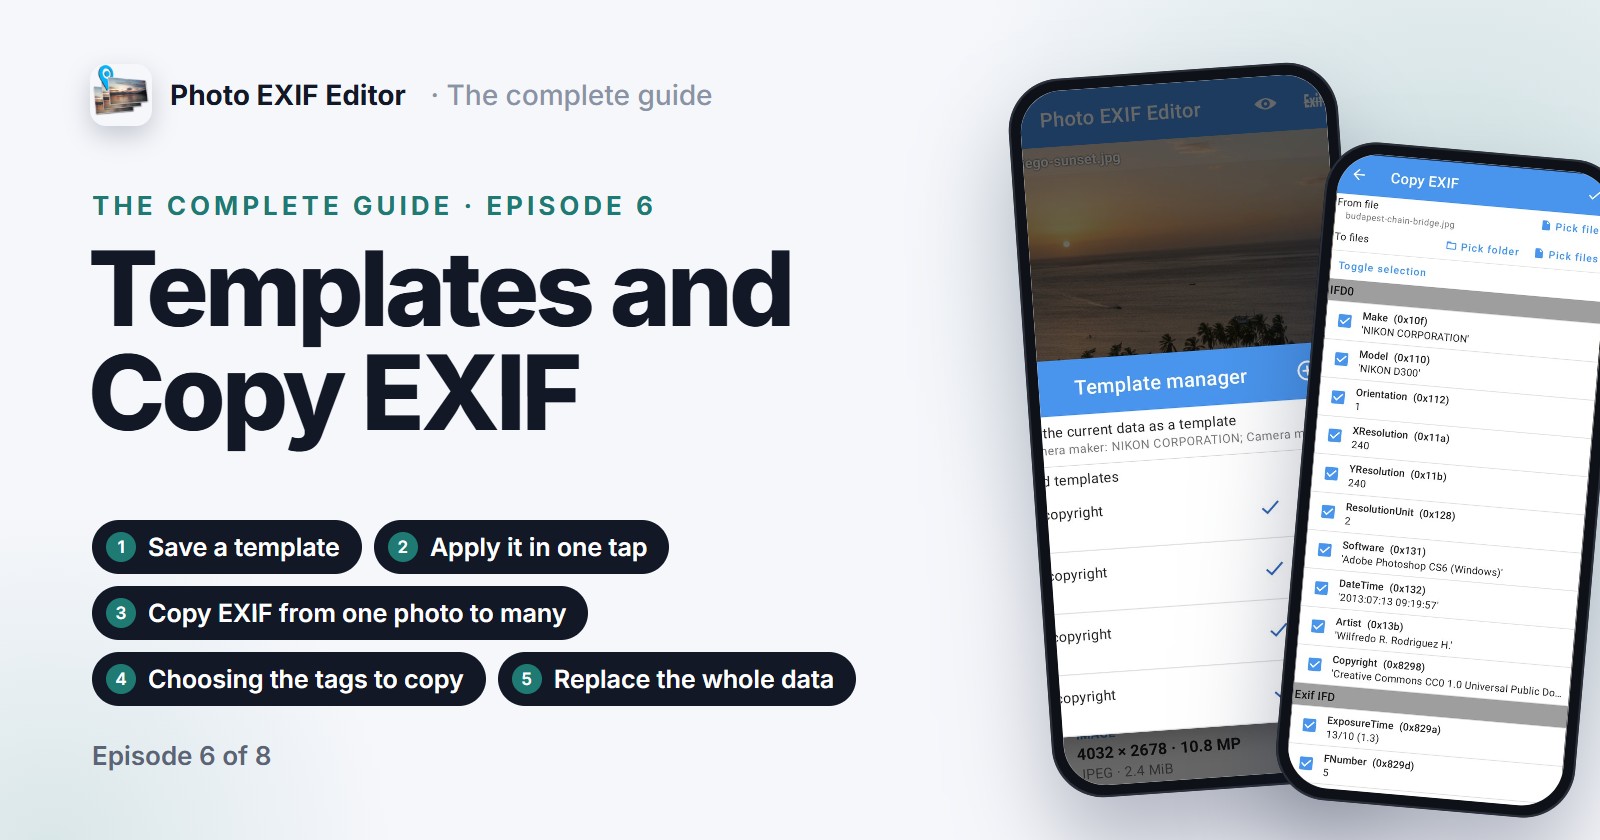
Photo EXIF Editor Guide, Episode 6: Templates and Copy EXIF
Episode 6 of our video guide to Photo EXIF Editor is about not typing the same things twice: save a template with your name, copyright and camera details and apply it in one tap, to one photo or a batch; then use Copy EXIF to take the information from one photo and write it into others.
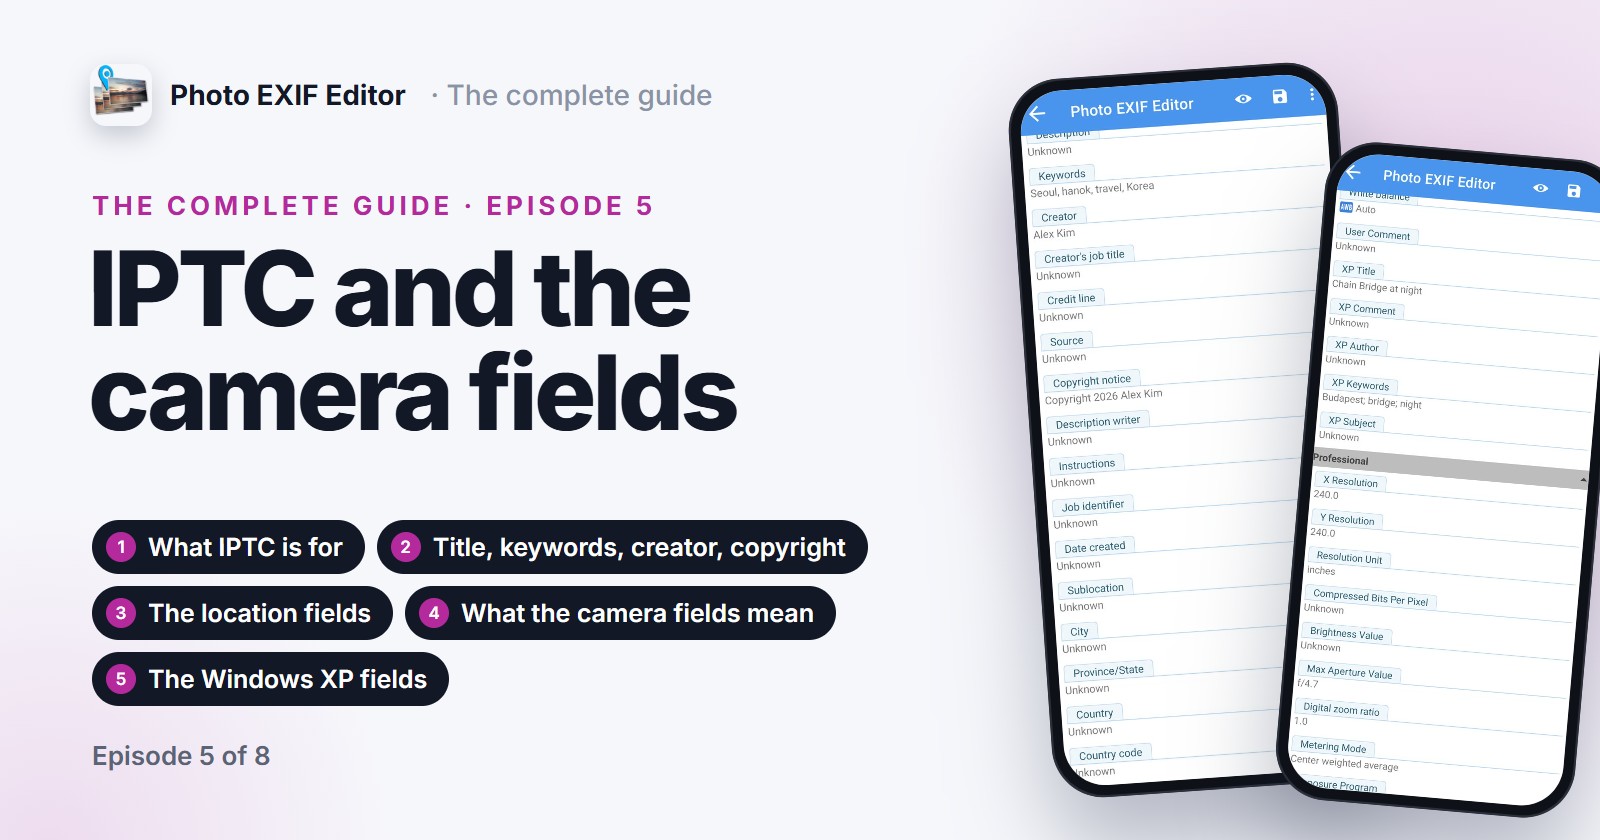
Photo EXIF Editor Guide, Episode 5: IPTC and the Camera Fields
Episode 5 of our video guide to Photo EXIF Editor covers IPTC, the fields photo libraries, stock sites and newsrooms read: titles, keywords, creator, copyright and the location fields. Then it decodes the camera fields in the Advanced section, from aperture and exposure time to orientation and the Windows XP fields, in plain words.