Photo EXIF Editor Guide, Episode 7: The Photo Map
Episode 7 of our video guide to Photo EXIF Editor is about the Photo map: your albums on a map, flying from photo to photo, placing a photo that has no location, spotting the one that landed in the wrong place, and the map views and settings.
On this page
This is the seventh episode of The complete guide to Photo EXIF Editor. So far we've looked at photos one at a time or as a list. The Photo map is a different way to look at them: by place instead of by date. It's the quickest way to relive a trip, and the quickest way to spot a photo that landed somewhere it shouldn't.
Watch the episode above, or read on.
Albums on a map
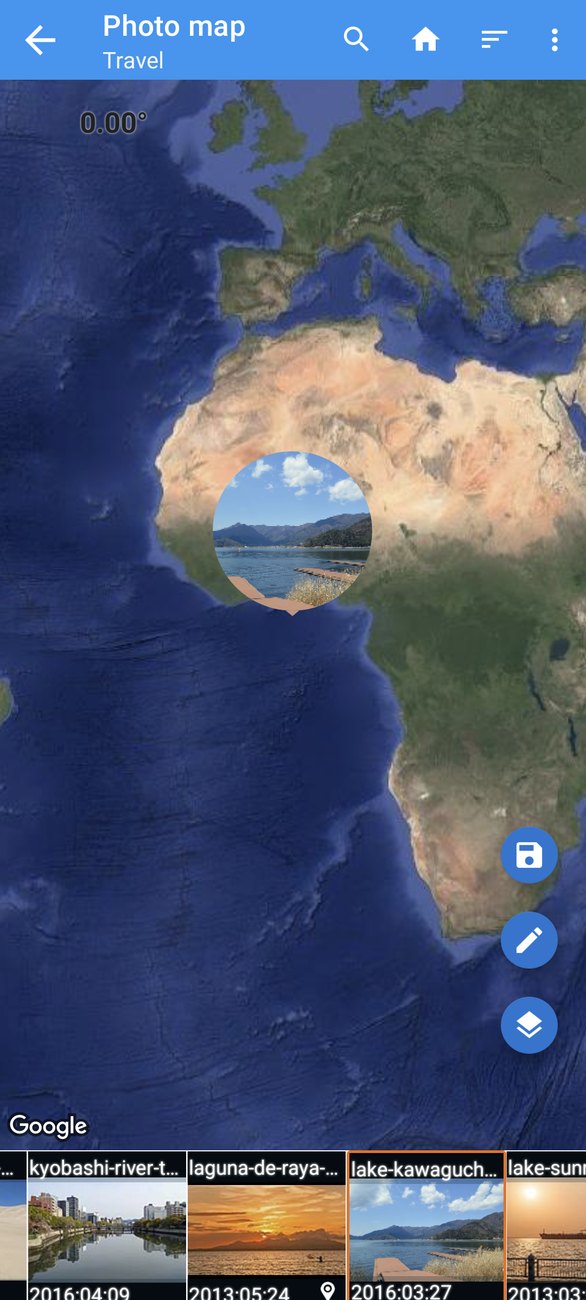
Open the Photo map from the home screen. The screen is a map with a strip along the bottom. At first, the strip shows your albums, each with the number of photos in it. The albums are the folders your photos are in, the same ones you see in the File Browser and in your gallery app.
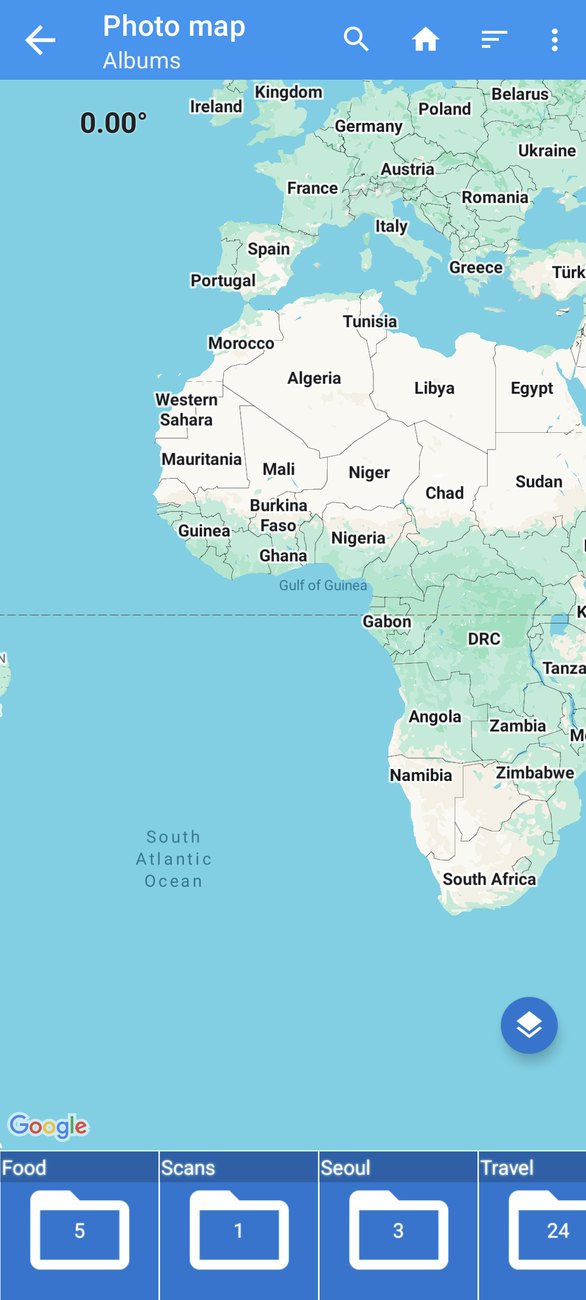
Tap an album, and the strip now shows its photos. Tap a photo, and the map flies to it, shown as a round thumbnail at the spot where it was taken. Photos that have a location show a small pin icon in the strip; photos without one show a hint instead: Long press on the map to set location.
Fly from photo to photo
Swipe the strip to move from photo to photo, and the map flies to each one. Tap the thumbnail on the map for a small window with the photo's name, date and coordinates. A whole trip becomes a route you can follow: the harbour, the old town, the viewpoint, in the order you visited them.
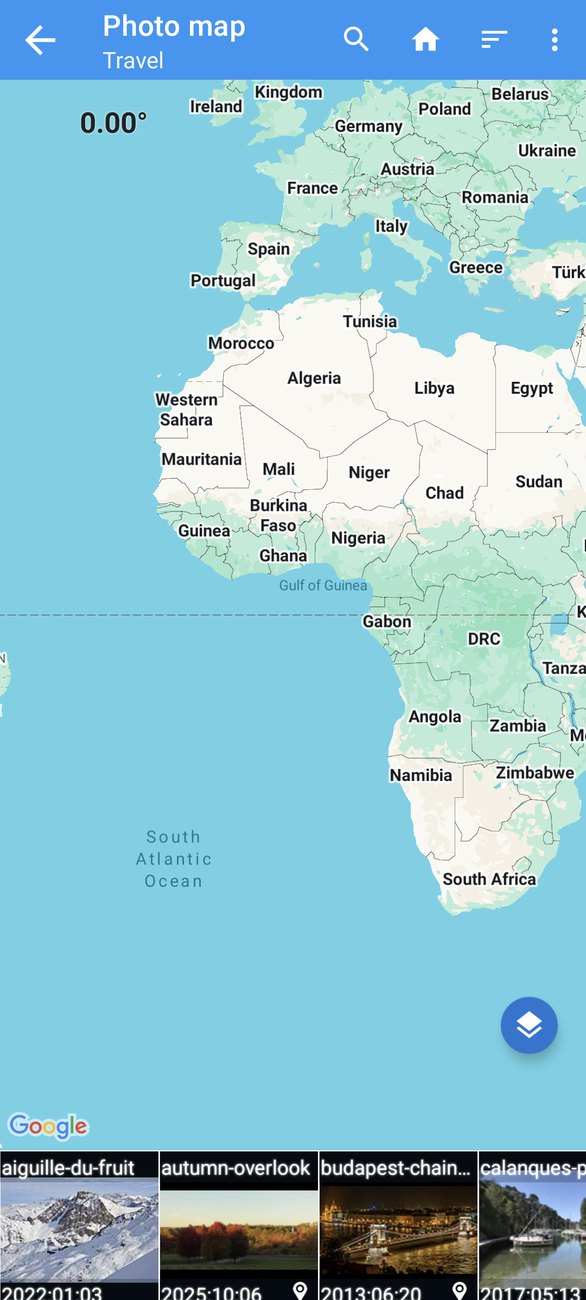
The map is Google's, so everything you know from Google Maps works: pinch to zoom, drag to pan, two fingers to rotate and tilt. The round layers button switches between the normal map, satellite, terrain and hybrid (satellite with street names) views, which turns a city trip into a bird's-eye tour.
Place a photo that has none
The Photo map is also an editor. To give a location to a photo that has none, or to move one:
- Select the photo in the strip.
- Long press on the map where it was taken. A marker appears. You can drag it to a better spot, or use the search button at the top to find a place by name, address or coordinates and jump there first.
- Tap the round save button.
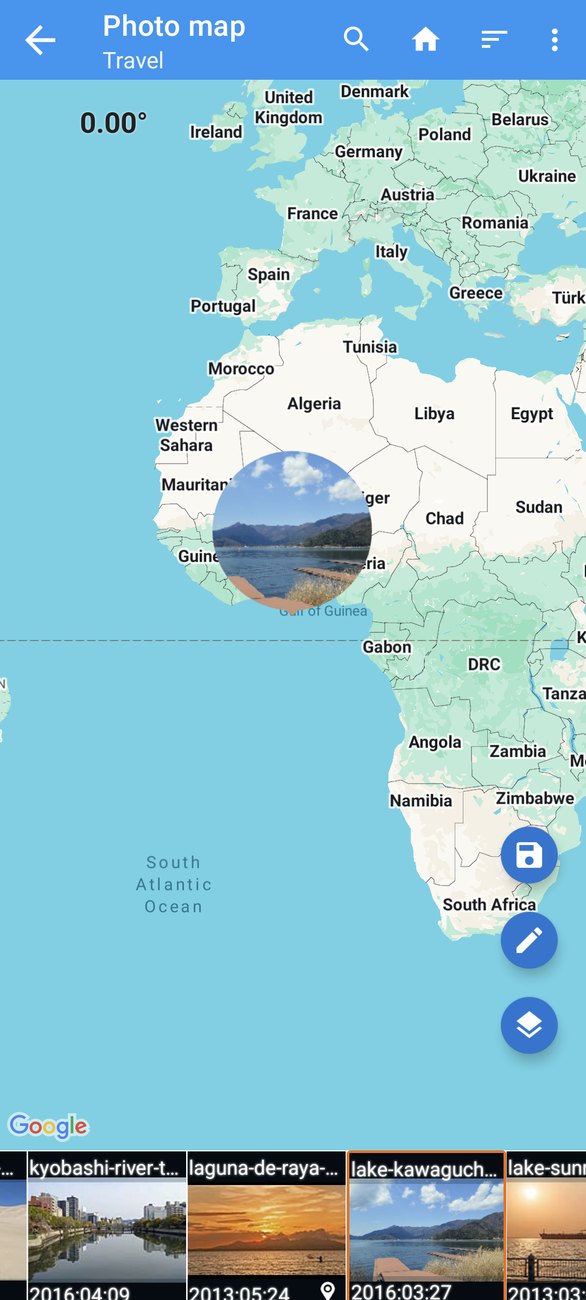
The location is written into the photo, exactly as it would be from the editor's location dialog (Episode 3). It's the same metadata; the Photo map is just a more pleasant place to do it when you're placing many photos from one trip, because you see the neighbours while you work.
Spot the wrong location
A map makes mistakes obvious in a way a list never does:
- A photo in the sea. Usually a sign that latitude and longitude were swapped by some tool, or that a camera used a GPS fix from the previous day.
- A photo in the wrong city. A phone's location was stale when the shutter fired, which happens after a flight or in a building.
- A photo at home. Taken somewhere else, but the phone hadn't caught up yet.
Each one stands out immediately on the map. Fix it on the spot: select it, long press the right place, save. Or tap the round pencil button to open the selected photo in the editor, where you can change anything else at the same time.
Map views and settings
The round buttons on the map:
- Pencil: open the selected photo in the editor.
- Layers: switch between map, satellite, terrain and hybrid views.
- Save: write the position you've chosen into the selected photo.
In the toolbar:
- Search: find a place by name, address or coordinates and move the map there.
- Sort: change the order of albums and photos (by name, size or time, ascending or descending).
- ⋮ → Settings: change the size of the thumbnails in the strip, so you see more photos at once or recognise each one more easily.
- ⋮ → Copy EXIF: copy the selected photo's information to other photos (Episode 6), without leaving the map.
Good to know
- Only photos with a location are placed. Photos without one still appear in the strip, with the long-press hint, so you can place them.
- Big albums. The map keeps its speed however often you come back to it, and however large the album is; this was one of the fixes in version 2.6.0.
- Your own position is optional. The location permission only adds a "you are here" dot. The Photo map works without it; we denied it while recording this series.
- Privacy. The Photo map shows you what anyone with your photos could see. If a photo of your home has a location, Episode 8 shows how to remove it before sharing.
- Offline. The map tiles need a connection; the thumbnails, the positions and the saving work offline.
Recipes
Relive a trip. Open the trip's album, switch to satellite view, and swipe through the strip.
Place a day from a camera without GPS. Open the camera's album. Select the first photo from a place, long press the spot, save; then select the next photos from the same place and save them to the same spot. For many photos from one spot, Copy EXIF or the batch editor (Episodes 4 and 6) are faster.
Check a set before publishing. Open the album and swipe through the strip: a photo of your home, or one in the wrong city, is easy to catch here and hard to catch in a list.
The Photo map and the editor, side by side
The Photo map and the editor write the same metadata, so you can mix them freely. A typical afternoon of tidying a trip looks like this:
- Start on the map. Open the trip's album and swipe through the strip once. Note the photos without a pin icon, and any thumbnail that sits somewhere odd.
- Place the missing ones with a long press and the save button, a few photos per spot. Satellite view helps for beaches, trails and viewpoints that have no address.
- Fix the odd ones the same way, or tap the pencil to open the editor when the date or something else needs attention too.
- Copy what repeats. When many photos belong to one spot, use ⋮ → Copy EXIF from the map with the location tag ticked, or go to the File Browser, select them, and set Geolocation once in the batch editor.
- Swipe through once more. The route should now read like the trip: no gaps, no detours into the sea.
The order matters less than the last step: a final pass on the map catches what a list never shows.
Albums are folders
The albums in the strip are the folders your photos live in. If a trip is split across Camera, WhatsApp Images and Downloads, you'll see it as three albums. Moving the photos into one folder with a file manager (or your gallery app's move function) before you start makes the map, and the batch editor, far more pleasant to use, because one album then means one trip.
What's next
In Episode 8: Privacy and the HEIC/AVIF converter, the last episode, we look at what a photo gives away, how to remove the location, the camera details or everything before it goes online, and how to convert HEIC and AVIF photos to JPEG or PNG so they open everywhere.
The full series:
- Getting started
- Dates and times
- Locations and geotagging
- Batch editing
- IPTC and the camera fields
- Templates and Copy EXIF
- The Photo map (this episode)
- Privacy and the HEIC/AVIF converter
Get the app
- Photo EXIF Editor (free): https://play.google.com/store/apps/details?id=net.xnano.android.photoexifeditor
- Photo EXIF Editor Pro (no ads): https://play.google.com/store/apps/details?id=net.xnano.android.photoexifeditor.pro
The sample photos in this series are CC0 photos from Wikimedia Commons.
Videos
Related posts
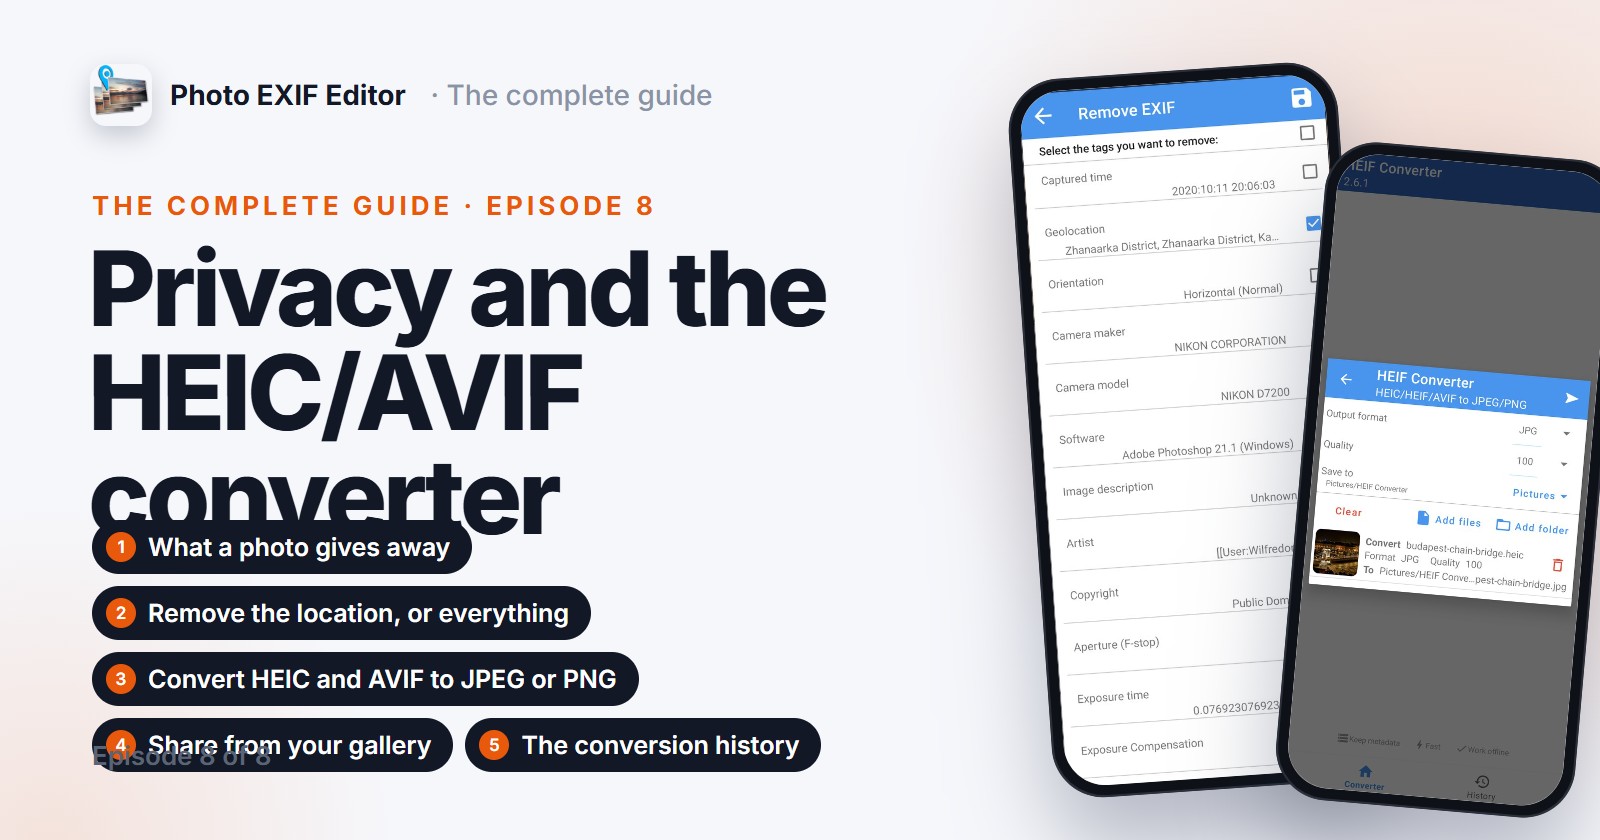
Photo EXIF Editor Guide, Episode 8: Privacy and the HEIC/AVIF Converter
The last episode of our video guide to Photo EXIF Editor: what a photo gives away, removing the location, the camera details or everything before it goes online, and converting HEIC, HEIF and AVIF photos to JPEG or PNG with their metadata kept.
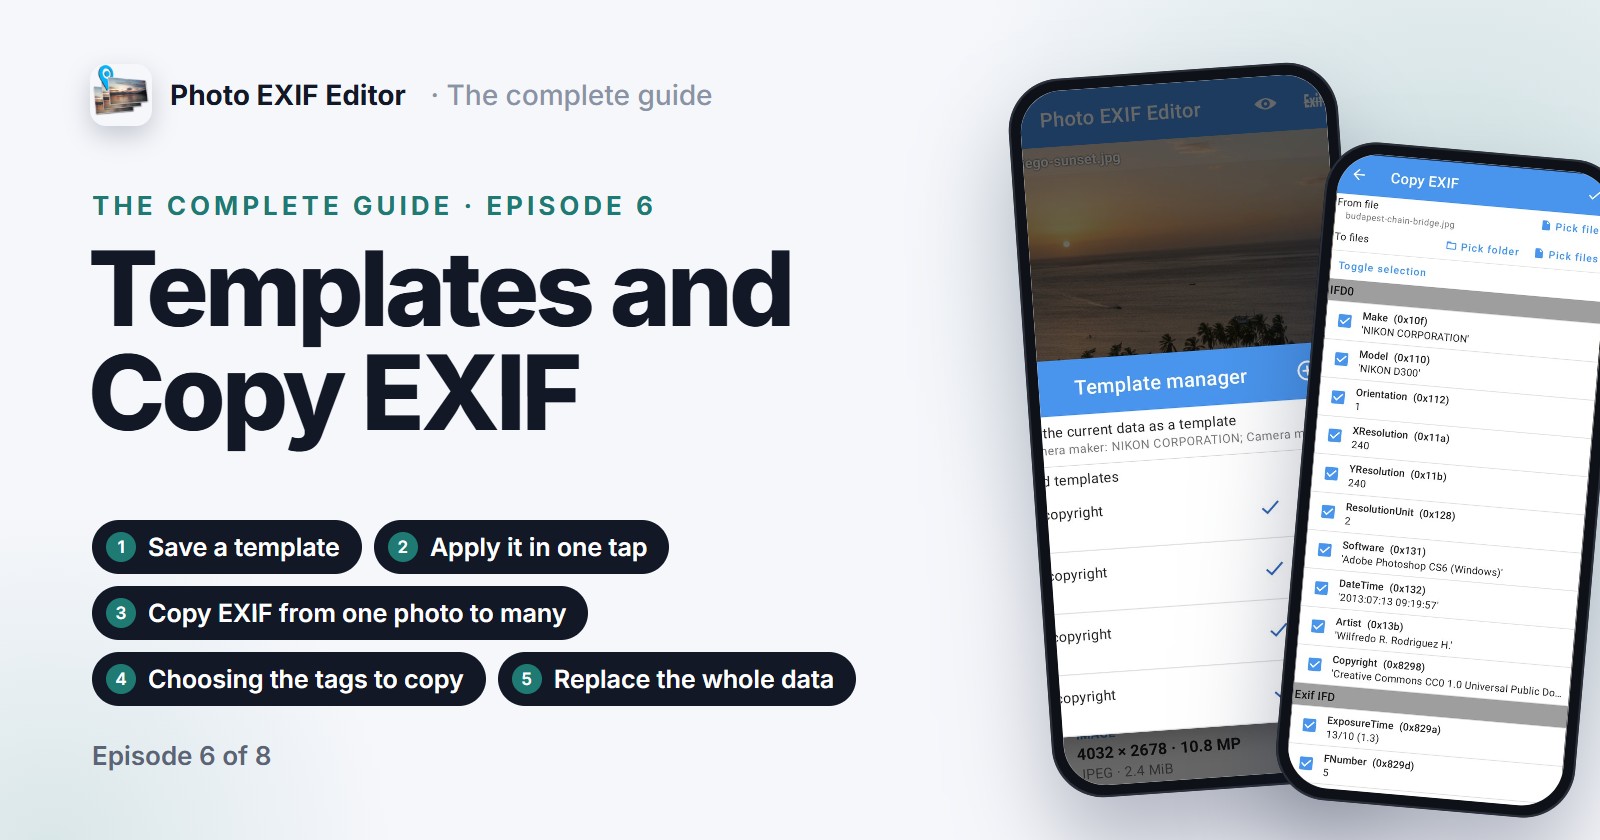
Photo EXIF Editor Guide, Episode 6: Templates and Copy EXIF
Episode 6 of our video guide to Photo EXIF Editor is about not typing the same things twice: save a template with your name, copyright and camera details and apply it in one tap, to one photo or a batch; then use Copy EXIF to take the information from one photo and write it into others.
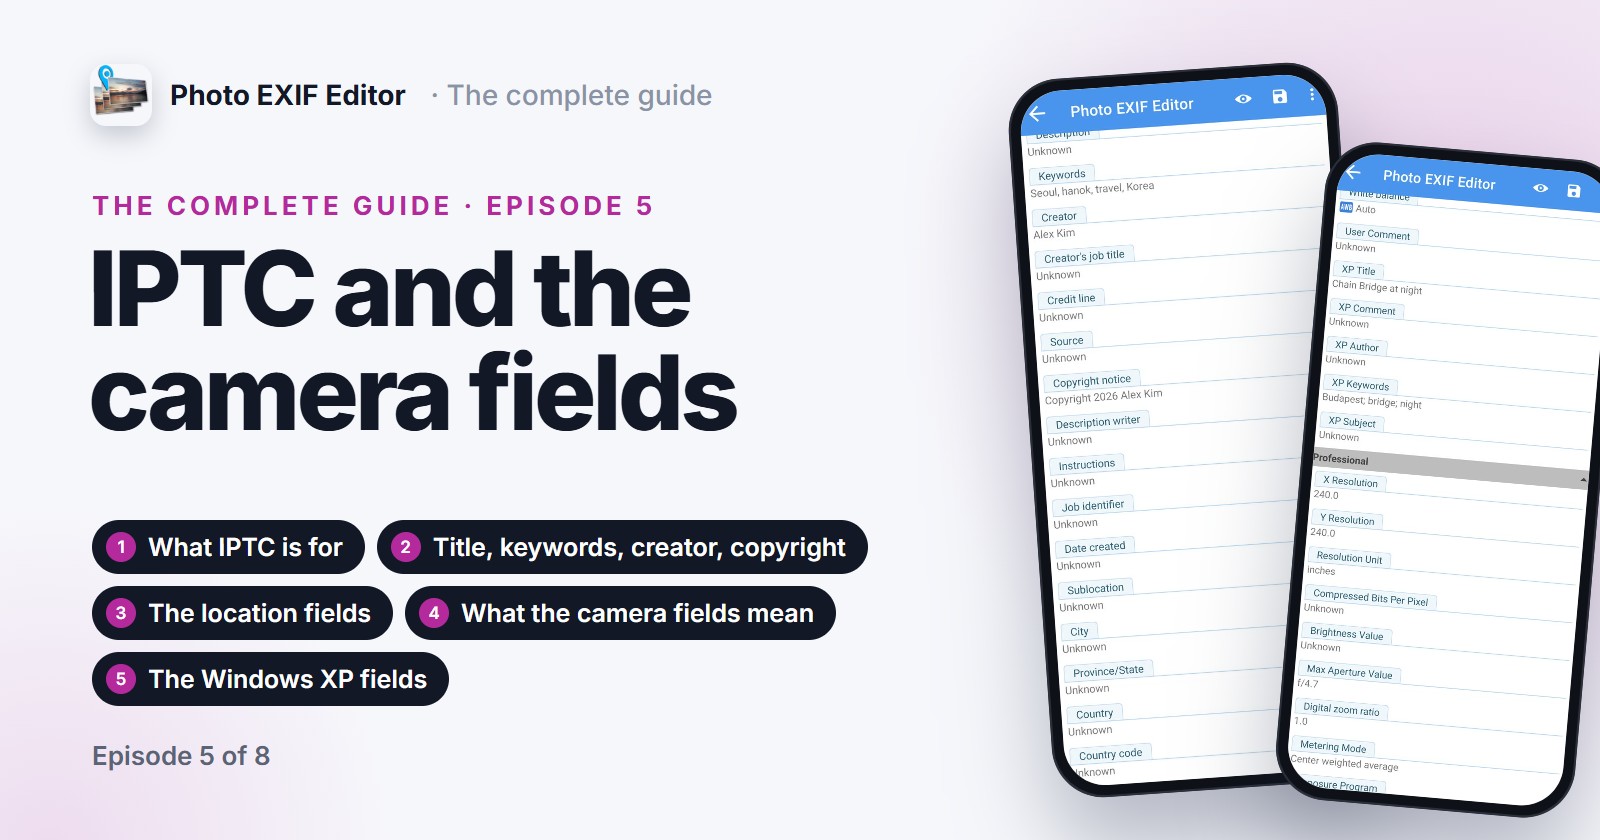
Photo EXIF Editor Guide, Episode 5: IPTC and the Camera Fields
Episode 5 of our video guide to Photo EXIF Editor covers IPTC, the fields photo libraries, stock sites and newsrooms read: titles, keywords, creator, copyright and the location fields. Then it decodes the camera fields in the Advanced section, from aperture and exposure time to orientation and the Windows XP fields, in plain words.